Introduction
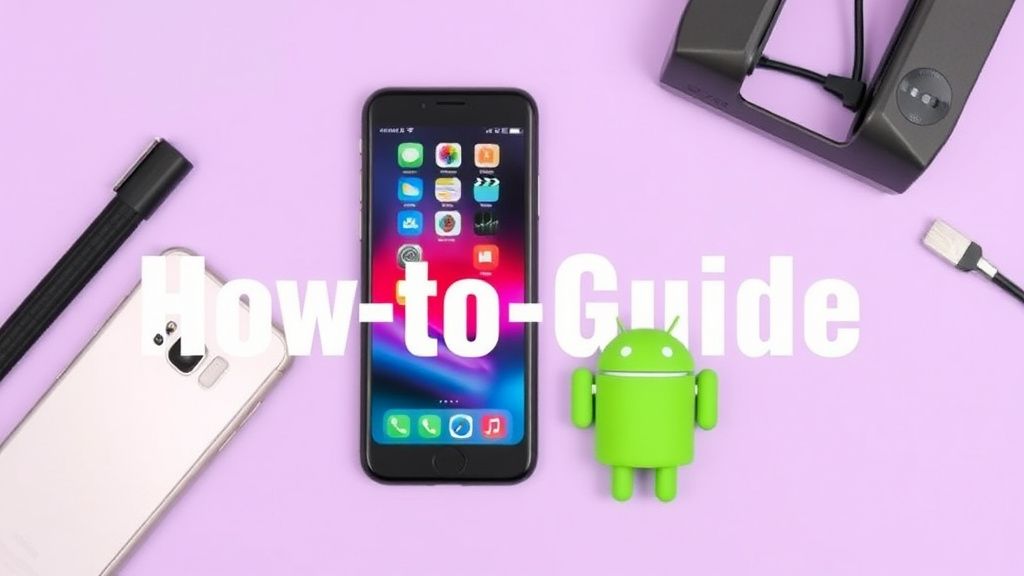
Switching from an Android to an iPhone can be an exciting transition, but transferring your photos can feel daunting. Fortunately, there are several methods to move your cherished memories seamlessly. Whether you prefer wireless solutions, using cloud services, or relying on physical accessories, this guide walks you through the best options to ensure your photos make the journey intact.
Method 1: Using Google Photos
Google Photos is one of the most straightforward ways to transfer photos from Android to iPhone. It’s free, cloud-based, and works across platforms.
Steps:
- Download Google Photos on Android: If it’s not pre-installed, download it from the Google Play Store.
- Backup Your Photos: Open the app, sign in with your Google account, and ensure “Backup & Sync” is enabled. This uploads your photos to Google’s cloud.
- Download Google Photos on iPhone: Install the app from the App Store and sign in with the same Google account.
- Access Your Photos: Your Android photos will now appear in the Google Photos app on your iPhone. You can download them to your iPhone’s Camera Roll if desired.
What to Look for:
- Storage Space: Google Photos offers unlimited storage for compressed photos, but full-resolution images count against your Google Drive storage. Consider upgrading to Google One if you need more space.
- Offline Access: Ensure you download photos to your iPhone for offline access, as they won’t be stored locally by default.
Method 2: Using Apple’s Move to iOS App
Apple’s Move to iOS app is designed specifically for transferring data from Android to iPhone, including photos.
Steps:
- Set Up Your iPhone: During the initial setup process, select “Move Data from Android” when prompted.
- Download Move to iOS on Android: Install the app from the Google Play Store.
- Connect Both Devices: Open the app on your Android device and follow the on-screen instructions to connect both devices via a private Wi-Fi network.
- Select Photos to Transfer: Choose the photos you want to transfer and wait for the process to complete.
What to Look for:
- Compatibility: Ensure your Android device is running Android 4.0 or later.
- Wi-Fi Stability: A stable Wi-Fi connection is crucial for a smooth transfer.
Method 3: Using a Computer as an Intermediate
If you prefer a more hands-on approach, transferring photos via a computer is a reliable option.
Steps:
- Connect Your Android to Computer: Use a USB cable to connect your Android device to your computer. Select “File Transfer” mode on your phone.
- Copy Photos to Computer: Navigate to your Android’s DCIM folder and copy the photos to your computer.
- Connect Your iPhone to Computer: Use a USB cable or Lightning cable to connect your iPhone to the same computer.
- Import Photos to iPhone: Use iTunes (Windows) or Finder (Mac) to import the photos to your iPhone.
What to Look for:
- File Formats: Ensure your photos are in a compatible format (JPEG, PNG, etc.) for seamless transfer.
- Cable Quality: Use high-quality USB or Lightning cables to avoid connection issues.
Method 4: Using a USB OTG Adapter
A USB On-The-Go (OTG) adapter allows you to connect your Android and iPhone directly for quick photo transfers.
Steps:
- Purchase a USB OTG Adapter: Look for one that supports both USB-C (for Android) and Lightning (for iPhone).
- Connect Both Devices: Plug the adapter into your Android device and connect your iPhone using a Lightning cable.
- Transfer Photos: Use a file manager app on your Android device to transfer photos directly to your iPhone.
What to Look for:
- Adapter Compatibility: Ensure the adapter supports your specific Android and iPhone models.
- File Manager App: Use a reliable file manager app like Solid Explorer or ES File Explorer for smooth transfers.
Method 5: Using Cloud Services (Dropbox, OneDrive, etc.)
Cloud services like Dropbox or Microsoft OneDrive offer another wireless option for transferring photos.
Steps:
- Upload Photos from Android: Install the cloud service app on your Android device, sign in, and upload your photos.
- Download Photos on iPhone: Install the same app on your iPhone, sign in, and download the photos to your Camera Roll.
What to Look for:
- Subscription Plans: Free plans may have storage limits. Consider upgrading if you have a large photo library.
- Sync Settings: Enable automatic sync to ensure all photos are uploaded and downloaded without manual intervention.
What to Look for When Choosing a Transfer Method
When selecting a method to transfer your photos, consider the following factors:
- Speed: Wireless methods like Google Photos or Move to iOS are faster for smaller libraries, while using a computer or USB OTG adapter is better for larger transfers.
- Convenience: Cloud services and apps like Move to iOS are more user-friendly but may require an internet connection.
- Storage: Ensure you have enough cloud storage or local storage on your iPhone to accommodate your photos.
- Accessories: Invest in high-quality cables or adapters if you choose a physical transfer method to avoid interruptions.
Conclusion
Transferring photos from Android to iPhone doesn’t have to be complicated. Whether you opt for the simplicity of Google Photos, the directness of Move to iOS, or the reliability of a computer transfer, there’s a method to suit your needs. By considering factors like speed, convenience, and storage, you can ensure your photos make the transition seamlessly, preserving your memories for years to come.