How to Record Your Screen on iPhone and Android: The Easy Way
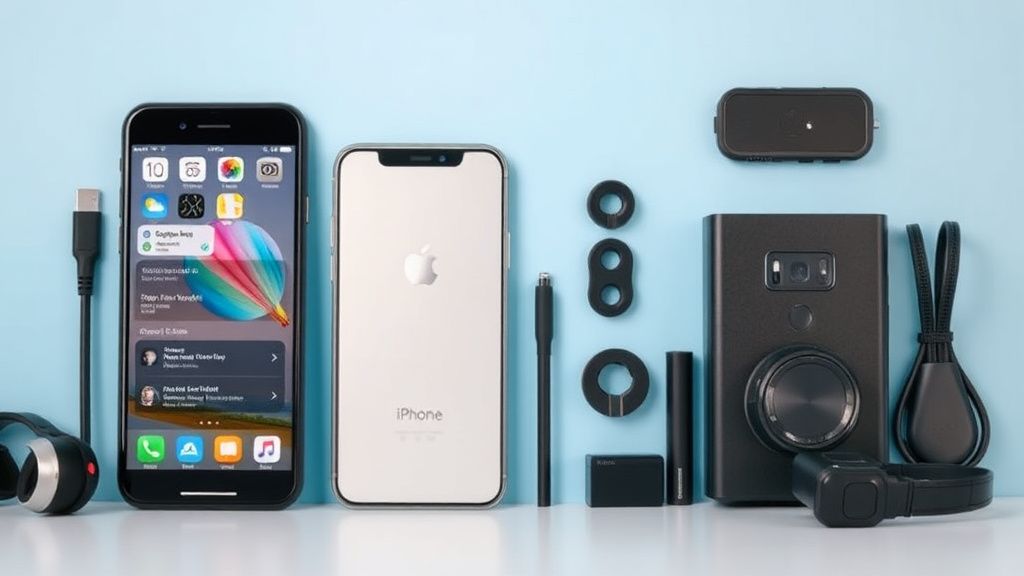
Recording your smartphone screen is a handy feature for creating tutorials, capturing gameplay, or sharing app demonstrations. Whether you’re using an iPhone or an Android device, the process is straightforward—once you know where to look. Below, we’ll walk you through the steps for both platforms and recommend useful accessories to enhance your recordings.
How to Record Your Screen on iPhone
Apple includes a built-in screen recorder in iOS, so no third-party apps are required. Here’s how to use it:
Step 1: Add Screen Recording to Control Center
- Open Settings > Control Center.
- Scroll down and tap the + icon next to Screen Recording to add it to your Control Center.
Step 2: Start Recording
- Swipe down from the top-right corner (or up from the bottom on older iPhones) to open Control Center.
- Tap the Screen Recording button (a circle inside a circle).
- A 3-second countdown will begin—your screen is now being recorded.
Step 3: Stop Recording
- Tap the red status bar at the top of your screen and confirm Stop.
- The recording will save to your Photos app.
Pro Tip: Record Audio
To include microphone audio (like voiceovers), long-press the Screen Recording button in Control Center and enable Microphone Audio.
How to Record Your Screen on Android
Unlike iPhones, Android screen recording methods vary by manufacturer. Most modern Android phones (running Android 11 or later) have a built-in screen recorder, but the steps differ slightly.
For Stock Android (Pixel, Motorola, etc.)
- Swipe down twice to open the Quick Settings panel.
- Look for Screen Record (if not visible, tap the pencil icon to add it).
- Tap it, then choose whether to record Device audio or Microphone audio.
- Tap Start—your screen is now recording.
- To stop, swipe down and tap the Stop notification.
For Samsung Galaxy Phones
- Swipe down to open Quick Settings and tap Screen Recorder.
- Adjust settings like audio source and show touches, then tap Start Recording.
- To stop, tap the floating toolbar and select Stop.
For Other Android Phones
If your phone doesn’t have a built-in recorder, try a trusted third-party app like AZ Screen Recorder or Mobizen.
What to Look for in a Screen Recording Setup
Whether you’re recording tutorials or gameplay, consider these factors for the best results:
1. Audio Quality
- Built-in mic vs. external mic: If voice clarity matters, use a wired or Bluetooth microphone (like the Rode SmartLav+ for iPhones or Boya BY-M1 for Android).
- Device audio capture: Some Android phones let you record internal audio (like game sounds), while iPhones require a workaround (e.g., connecting to a Mac).
2. Resolution & Frame Rate
- iPhones record at your screen’s native resolution (up to 4K on newer models).
- Android screen recorders may limit resolution based on the app or device.
3. Editing Features
- Trim clips directly in your phone’s gallery app or use CapCut (free) or iMovie (iOS) for advanced edits.
4. Storage Space
- Screen recordings take up significant storage. Use a phone with ample space or offload files to Google Drive or iCloud.
Recommended Accessories
1. Tripods & Mounts
- A Joby GorillaPod or UBeesize Tripod keeps your phone steady if you’re recording hands-free demos.
2. External Microphones
- iPhone: Shure MV88+ (Lightning/USB-C) for studio-quality audio.
- Android: Fifine K678 (USB-C) for clear voiceovers.
3. Lighting
- A Lume Cube Panel Mini or Sony LED Clip Light improves visibility in dim settings.
Final Tips
- Close background apps to avoid interruptions.
- Enable Do Not Disturb to prevent notifications from appearing in your recording.
- Practice first—do a test recording to check audio and framing.
With these steps and tools, you’ll be recording like a pro in no time!